At this is the time of year, with the dawn of a new game season a few tantalising weeks distant, fly fishers are wont to untie the old rod bags, assemble the cane, carbon or glass, and give it a preparatory flex in the back garden. Reels are liberated from their pouches and inspected, cleaned and oiled in anticipation. Periodically, though, during these otherwise happy preparations, the sad realisation dawns that, alas, the purchase and installation of a new line can be put off no longer.
The putting on of new line is fraught with myriad anxieties, of course. First, there are the knots; the arbour knot to connect the backing to the spool, the nail knot that connects the backing to the fly line... Anglers tie these knots so rarely - relative to the common knots tied unthinkingly during the course of day-to-day fishing - that they find themselves having to refer to various tomes or online tutorials to steer them through the loathsome process. I am no different. Last week, while checking that I'd got the nail knot correctly done, I couldn't help but notice that a lot of questions on the forums related to calculating the correct amount of backing line to load onto the spool. Here's a method shown to me a few years ago by the helpful chap in the Orvis shop at Burford. It works perfectly well for small arbour reels (all my reels are of this type), I don't see why it wouldn't do for large arbour models as well.
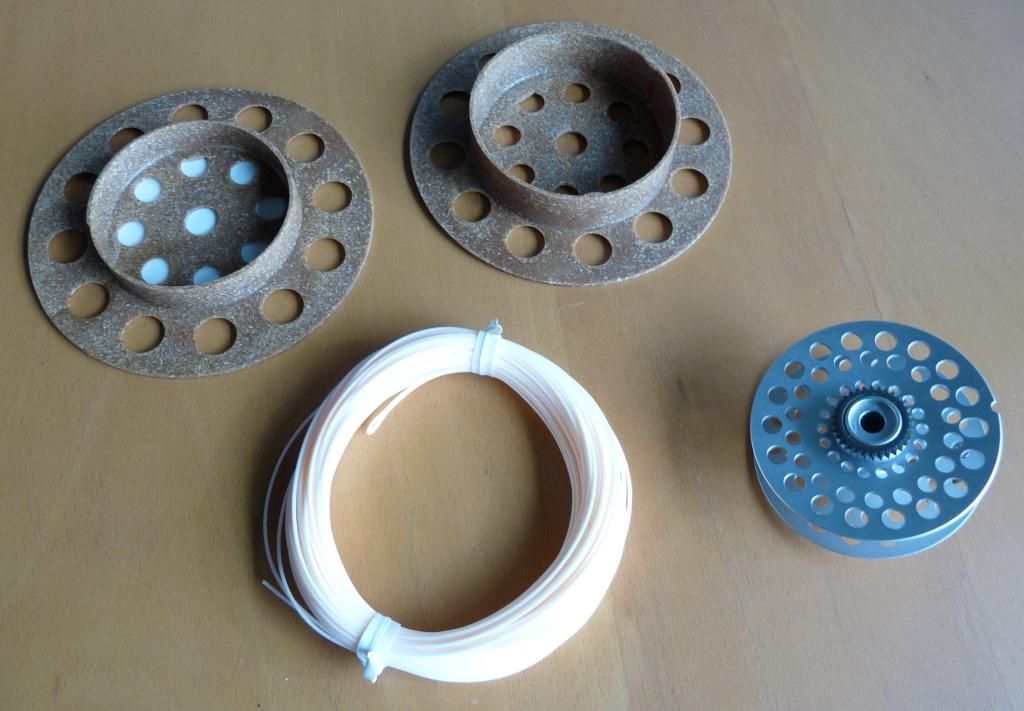
1.) Take the fly line from the packaging and take the spool apart as shown below. Remove the fly line from the spool, but don't take the cable ties off the fly line at this point.
2.) Tie the backing to the fly reel spool arbour using an arbour knot.
3.) Wind on what you estimate (or what the instructions supplied with the reel recommend) to be the correct the amount of backing for the type of line you are fitting, e.g. double taper, weight forward, etc. Do not cut the backing line yet.
4.) When you think the amount of backing is about right, carefully pick up the fly line and push the opposing sides together so that the hank of line is doubled.
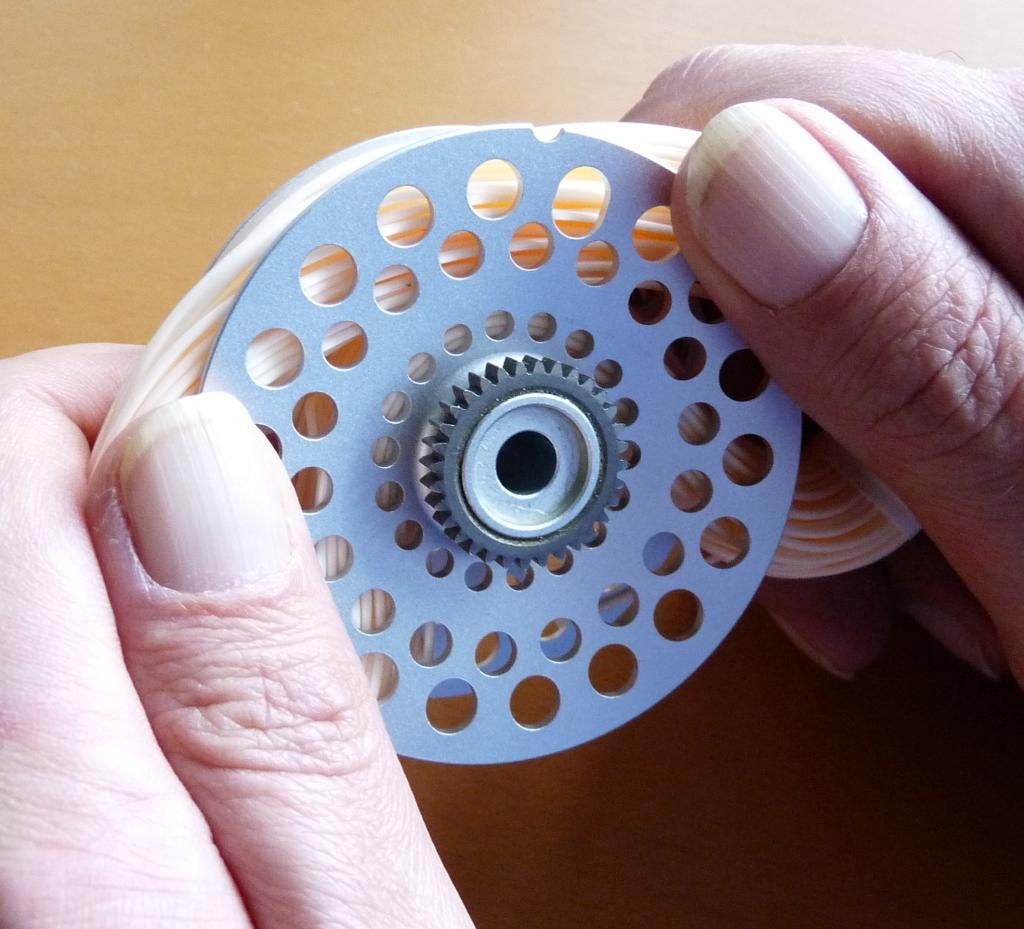
5.) Slot the doubled hank onto the spool as shown below.
6.) You have the correct amount of backing when the distance from the fly line to the edge of the spool is the same as what you'd want when the line is wound on. So, make adjustments to the amount of backing until this is achieved.
Note.
It may appear from the illustration that there is no backing on the spool: there is. It's just that a very small amount is required for the double taper line I'm putting on this Hardy Featherweight, and it is not visible in the picture.
7.) Cut the backing, tie it to the fly line using a nail knot, and wind the line onto the reel spool. Piece of cake.
A Useful tip for Owners of Greys Streamlite Reels
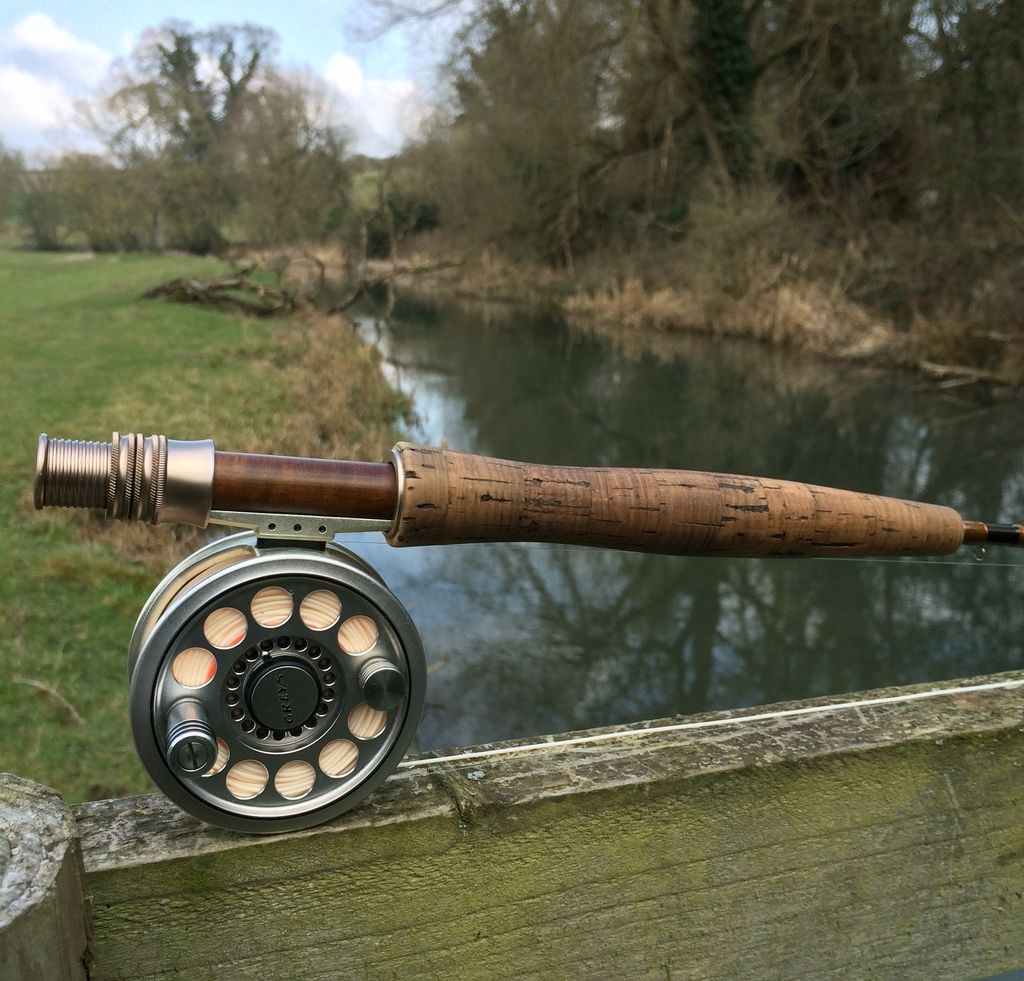
I have owned one of these canny little reels for ages (3/4wt model). In fact, it gets used for the majority of my river fishing. I love it. It balances my 8' 4wt Streamflex, a prince among rods, perfectly.
The Streamlite has an adjustable click check but both the pawl and ratchet are plastic. A spare pawl is supplied with the reel. The first pawl lasted about six or seven seasons before it started to wear and was replaced with the spare. This lasted one week. I suspect this was because the reel became submerged while I unhooked a grayling during an extremely cold New Year's Day session on the Coln. When I resumed casting and drew line from the reel, the end of the frozen pawl simply snapped off. Needless to say this resulted in highly annoying overrun issues as I pulled line from the reel.
I searched online for a solution and noted that several other anglers had experienced issues with the plastic ratchet/pawl arrangement, and not because they had allowed the reel to freeze either. It appears that the use of plastic for these crucial parts is a bit of a design flaw.
The upshot was that I called Customer Service at Hardy Greys (see the Hardy Greys website for contact details) in the hope of obtaining some more pawls. I was informed that, for a nominal fee (£26.50) they will retro-fit the Streamlite reel with a metal ratchet and pawl. I entered into the agreement readily and, within a week, my reel was back with the new parts fitted. It works like a dream and sounds much better than before. It only begs the obvious question; why don't they make 'em like that in the first place? Cost, presumably. Anyway, I recommend the upgrade, regard it as well worth the fee, and commend Hardy Greys on the efficiency of the turnaround.


No comments:
Post a Comment